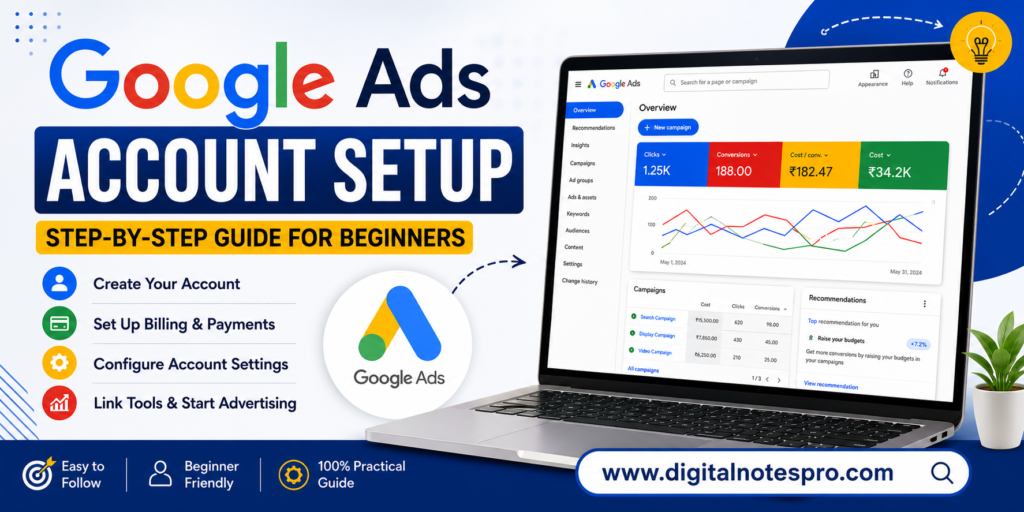
If you want to advertise your business on Google and reach customers who are actively searching for your products or services, the first step is creating a Google Ads account. Whether you’re a business owner, freelancer, marketer, or student learning digital marketing, setting up your Google Ads account correctly is essential for running successful advertising campaigns.
Many beginners create an account in a hurry and accidentally enable unwanted settings, resulting in poor campaign performance or unexpected spending. This step-by-step guide will help you create your Google Ads account the right way, configure essential settings, and prepare your account for successful advertising.
By the end of this guide, you’ll know exactly how to set up your Google Ads account like a professional.
What is Google Ads?
Google Ads is Google’s online advertising platform that allows businesses to display advertisements on:
- Google Search Results
- YouTube
- Gmail
- Google Display Network
- Google Maps
- Google Shopping
- Partner Websites
Businesses only pay when someone interacts with their advertisement, depending on the campaign objective.
Why Do You Need a Google Ads Account?
A Google Ads account allows you to:
- Reach customers searching for your products
- Generate quality leads
- Increase website traffic
- Boost online sales
- Promote local businesses
- Increase brand awareness
- Track campaign performance with detailed reports
Whether you own a small business or a large company, Google Ads can help you achieve measurable marketing results.
Prerequisites Before Creating a Google Ads Account
Before starting the setup process, keep these ready:
- Google Account (Gmail)
- Business Website or Landing Page
- Business Name
- Business Address
- Phone Number
- Payment Method (Credit Card, Debit Card, Net Banking, etc.)
- Business Email Address
- Clear Advertising Goal
Having these details prepared makes the setup process faster and smoother.
Step-by-Step Google Ads Account Setup
Step 1: Sign in to Google Ads
Visit the Google Ads website and sign in using your Gmail account.
If you don’t already have a Google account, create one first.
Step 2: Switch to Expert Mode
Google usually encourages beginners to use Smart Campaigns.
Instead:
- Click Switch to Expert Mode
- This unlocks all campaign settings and advanced features.
Expert Mode gives you complete control over:
- Keywords
- Bidding
- Campaign Types
- Audience Targeting
- Budget
- Conversion Tracking
This is the recommended setup for businesses and digital marketers.
Step 3: Create an Account Without a Campaign
Google often asks you to create your first campaign immediately.
Instead:
Click:
Create an account without a campaign
This allows you to configure your account properly before launching ads.
Step 4: Select Billing Country
Choose your billing country carefully.
Important:
Once selected, this cannot be changed later.
For example:
- India
- United States
- Canada
- Australia
Always choose the country where your business operates.
Step 5: Select Time Zone
Choose the correct time zone.
This setting determines:
- Reporting
- Campaign scheduling
- Budget calculations
Like billing country, the time zone cannot be changed later.
Step 6: Select Currency
Choose your billing currency.
Examples:
- INR
- USD
- AED
- GBP
Your ad costs and invoices will be generated in this currency.
Choose carefully because changing it later requires creating a new Google Ads account.
Step 7: Confirm Business Information
Review:
- Country
- Currency
- Time Zone
Click Submit to create your account.
Congratulations! Your Google Ads account is now created.
Configure Essential Account Settings
Creating the account is only the beginning. Proper configuration is essential.
1. Add Billing Information
Navigate to:
Billing → Settings
Add:
- Payment Profile
- GST Details (if applicable)
- Business Address
- Payment Method
Google will verify your payment information before running advertisements.
2. Set Up Billing Profile
Fill in:
- Business Name
- Organization Type
- Tax Information
- Address
- Contact Details
Double-check everything because this information appears on invoices.
3. Enable Auto-Tagging
Go to:
Settings → Account Settings
Enable:
Auto-tagging
Benefits include:
- Accurate Google Analytics tracking
- Better conversion reporting
- Improved campaign analysis
4. Link Google Analytics
Connect your Google Ads account with Google Analytics.
Benefits:
- Track website visitors
- Measure conversions
- Analyze user behavior
- Create remarketing audiences
5. Link Google Search Console
Although optional, connecting Search Console helps understand organic search performance and supports overall digital marketing analysis.
6. Link YouTube Channel
If you plan to run Video Ads:
- Connect your YouTube Channel
- Enable audience creation
- Access video engagement reports
7. Link Google Business Profile
For local businesses, linking your Google Business Profile allows you to:
- Display location extensions
- Show directions
- Increase local visibility
- Improve trust
Organize Your Google Ads Account Properly
A well-structured account is easier to manage.
Recommended structure:
Google Ads Account

→ Campaign

    → Ad Group

        → Keywords

        → Ads
Example:
Campaign:
Digital Marketing Course
Ad Groups:
- SEO Course
- Google Ads Course
- Meta Ads Course
Each Ad Group should contain closely related keywords.
Important Google Ads Account Settings
Before running campaigns, review these settings:
Notification Preferences
Choose which email alerts you want to receive.
Account Access
Invite team members with appropriate permissions.
Permission levels include:
- Admin
- Standard
- Read Only
- Billing
Security
Enable Two-Factor Authentication for better account protection.
Conversion Tracking
Set up conversion actions before spending money on advertisements.
Track:
- Form Submissions
- Phone Calls
- Purchases
- Downloads
- Newsletter Signups
Common Mistakes to Avoid During Google Ads Setup
Many beginners make these mistakes:
- Choosing the wrong currency
- Selecting the wrong time zone
- Running Smart Campaigns without understanding them
- Not enabling Auto-tagging
- Ignoring conversion tracking
- Using personal billing details instead of business information
- Launching campaigns before configuring account settings
Avoiding these mistakes can save both time and advertising budget.
Best Practices for Google Ads Account Setup
Follow these recommendations:
- Use Expert Mode
- Create the account before creating campaigns
- Enable Auto-tagging
- Link Google Analytics
- Link Google Business Profile
- Set up conversion tracking
- Organize campaigns properly
- Use secure account access
- Regularly review billing information
- Keep account permissions updated
Benefits of a Properly Configured Google Ads Account
A well-configured account helps you:
- Improve campaign performance
- Increase return on investment (ROI)
- Track conversions accurately
- Reduce wasted ad spend
- Optimize campaigns effectively
- Generate more qualified leads
- Scale advertising with confidence
Conclusion
Setting up a Google Ads account correctly is the foundation of every successful advertising campaign. Instead of rushing through the process, take the time to configure your billing, tracking, integrations, and account settings properly.
Choosing Expert Mode, linking essential Google tools, enabling conversion tracking, and organizing your campaigns can significantly improve your advertising performance and reduce costly mistakes.
Whether you’re promoting a local business, an eCommerce store, or a service-based company, following this step-by-step setup process will prepare your Google Ads account for long-term success.
Frequently Asked Questions (FAQs)
1. Is Google Ads free to create?
Yes. Creating a Google Ads account is completely free. You only pay when your ads start running.
2. Can I change my account’s currency later?
No. Your billing currency cannot be changed after the account is created. You would need to create a new Google Ads account.
3. Should beginners use Smart Mode or Expert Mode?
Expert Mode is recommended because it provides full control over campaigns, keywords, budgets, bidding, and reporting.
4. Do I need a website to use Google Ads?
For most campaign types, yes. A website or landing page is required to direct users after they click your ads. Some campaign types, such as call campaigns or local campaigns, may have different requirements.
5. Why is conversion tracking important?
Conversion tracking measures valuable actions such as purchases, form submissions, and phone calls, helping you evaluate campaign performance and optimize your advertising budget.